Essential Tools
You don't need much to start. The core toolkit has barely changed in centuries.
Mortar and Pestle
This is your most important tool. A heavy granite mortar (at least 15 cm diameter) is ideal for grinding resins. A Mexican molcajete (volcanic rock) is excellent too; its rough surface grips sticky resins and prevents them from sliding around. Avoid marble and ceramic for resin work, as they're too smooth and can crack under heavy pounding.
You'll likely want two: a larger one for heavy grinding and a smaller one for fine blending.
Scale
A digital scale that measures to 0.01 grams is strongly recommended, especially for small batches. While traditional recipes use relative "parts" (which you can measure by volume with spoons), a scale gives you reproducibility. When you make something wonderful, you'll want the exact ratios.
Coffee or Spice Grinder
A dedicated blade-type coffee grinder handles woods and dried herbs efficiently. Never use it for resins; they'll gum up the blades and ruin the grinder. Reserve the mortar and pestle for all resin work. Label your incense grinder clearly so no one uses it for coffee.
Sifters and Strainers
Small metal mesh strainers (like tea strainers) are essential when making sticks or cones, where uniform particle size matters. For loose incense, sifting is optional but helps achieve an even burn.
Mixing Bowls and Containers
Glass or ceramic bowls for mixing. Small glass jars with tight lids for storage. Avoid plastic; essential oils in aromatics can degrade it, and it can impart off-notes to your blends.
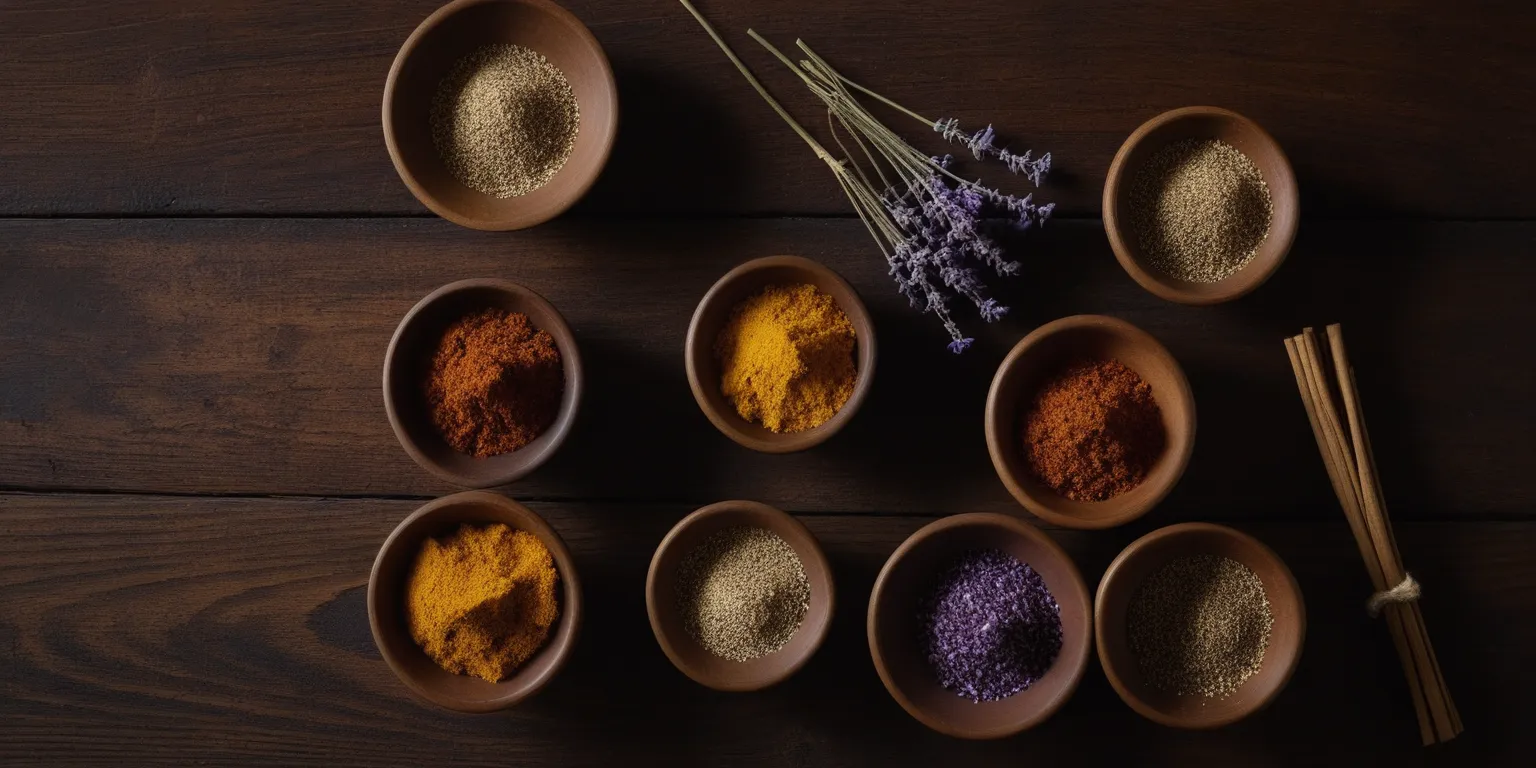
Organize Your Ingredients
Small ceramic or glass bowls keep ground ingredients separated and accessible during blending. Prepare all your materials before you begin mixing; the process flows more naturally when everything is within reach.
Additional Useful Items
- Hammer and chisel - for breaking down large pieces of wood or resin into workable chips
- Fine cheese grater - excellent for citrus peels and some barks
- Small spoons - for measuring and transferring powders
- Labels and a notebook - to record every recipe and observation
- Dust mask - some powders (especially cinnamon and certain woods) are irritating when airborne
Setting Up Your Workspace
Pick a well-ventilated area with a stable surface. Grinding produces fine dust, so work near an open window or outdoors when processing large batches. Cover your work surface with newspaper or a tray to catch spilled powder. It makes cleanup easier and lets you recover expensive materials.
Keep your workspace dry. Moisture is the enemy of powdered ingredients, causing clumping, mold, and degraded scent. If you live in a humid climate, consider adding silica gel packets to your storage jars.
Dedicate separate grinding tools for different ingredient families. A mortar that's been used for camphor will impart that scent to everything ground in it afterward. At minimum, keep one mortar for resins and one for woods/herbs.
Grinding Techniques
Different materials demand different approaches. This is where most beginners struggle, so take your time here.
Resins and Gums
Resins (frankincense, myrrh, copal, benzoin, etc.) are the trickiest to grind. They're sticky, they clump, and they can turn into a gummy mess in a mechanical grinder.
- Always freeze first. Place resins in the freezer for 15–30 minutes before grinding. Very soft resins (like elemi or fresh labdanum) may need a full overnight freeze.
- Use only mortar and pestle. Never put resins in a coffee grinder; they'll coat the blades and become impossible to clean.
- Add dry powder while grinding. Mixing in a spoonful of powdered sandalwood or another dry wood while grinding resin prevents clumping and keeps the mixture workable.
- Pound, don't twist. A straight downward pounding motion is more effective for resins than the circular grinding motion used for other materials.
Woods
Start by breaking wood into rice-grain-sized chips using a hammer and chisel. From there, a coffee grinder can reduce them to powder. For loose incense, small chips are perfectly fine and don't need to be powdered. For sticks and cones, you'll need very fine powder. Consider purchasing pre-powdered woods to save significant effort.
Herbs, Flowers, and Spices
Dried herbs and flowers are generally easy to process. A coffee grinder handles most of them quickly. Very hard spices like cloves and nutmeg benefit from a preliminary crush in the mortar before going into the grinder. Rose petals and other delicate flowers can be crumbled between your palms or rubbed between flat surfaces.
Citrus Peels
Use a fine cheese grater on fresh peels, then spread the gratings on a screen or paper towel to dry, turning occasionally. Once fully dry, use as-is for loose incense or grind to powder for other forms.
Measuring & Ratios
Traditional recipes use relative "parts" rather than fixed quantities. One part frankincense and two parts sandalwood means the ratio is 1:2, whether you're measuring in grams, teaspoons, or handfuls. This system scales naturally.
Measure twice: once before grinding, once after. Grinding changes volume significantly. A tablespoon of frankincense tears may become two tablespoons of powder. If your recipe calls for "1 part frankincense," measure the whole tears, grind them, and re-measure the powder to confirm your ratio. When precision matters, use weight instead of volume.
For beginners, start with small batches, around 30–50 grams total. This limits waste while you're learning what works, and means you can experiment frequently without running through expensive materials.
Testing Your Blends
Always test a small amount before committing to a large batch. There are three main testing methods:
Charcoal Disc
The quickest method. Light a self-igniting charcoal disc in a heat-safe vessel filled with sand or ash. Once the charcoal is fully lit and ashed over (about 5 minutes), place a small pinch of your blend on top. This gives an immediate read on the scent, but burns hot, so you'll smell some of the harsher combustion notes along with the fragrance.
Electric Incense Heater
An electric heater warms incense without direct combustion, revealing the purest scent profile. This is how neri-koh and fine loose blends are traditionally appreciated. If you're serious about the craft, this is worth the investment.
The Foil Test
A free alternative: fold a small piece of aluminum foil into a cup shape, place a tiny amount of your blend inside, and hold it over a candle flame at a height where it heats but doesn't combust. Rotate slowly. This gives a reasonable preview of the heated scent.
When testing, take short sniffs rather than deep inhales. Give your nose a break between samples by smelling plain coffee beans or the back of your own hand. Test no more than three or four blends in a session; your olfactory sense fatigues quickly.
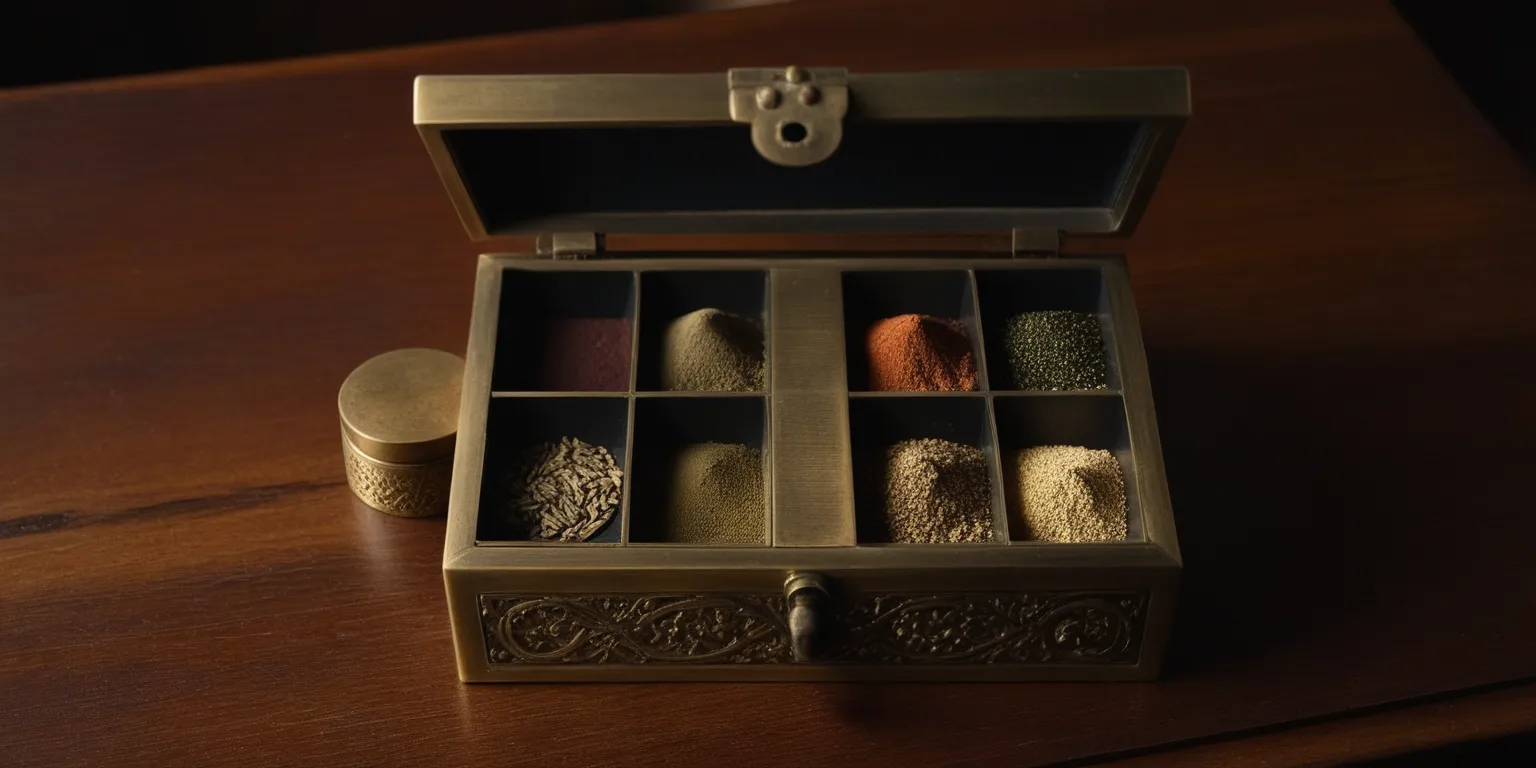
Storage & Aging
Store finished blends in sealed glass jars in a cool, dark location: a drawer or closet is ideal. Label every jar with the recipe name, date, and a brief list of ingredients.
Aging is not merely storage. Over days and weeks, the individual scent components in a blend interact chemically and merge into a more complex, unified aroma. Even the simplest loose incense blend benefits from at least an overnight rest. More complex blends reward weeks or months of aging. Neri-koh is traditionally aged for months to years.
Traditional storage vessels were unglazed ceramic pots, which allow slight moisture exchange and contribute a subtle earthy character. Glass jars are the modern practical choice. Avoid metal containers, which can react with acidic resins, and plastic, which can absorb and impart odors.

Sachets for Aging
Linen or muslin sachets offer a traditional alternative for aging blends. The breathable fabric allows gentle air exchange while protecting the contents, much like the unglazed ceramic vessels used historically.
Your First Blend
Before diving into complex recipes, try this simple three-ingredient blend. It teaches you the basics of grinding, mixing, and evaluating, and produces a genuinely pleasant incense.
Simple Resin Blend
| Ingredient | Amount |
|---|---|
| Frankincense tears | 2 parts |
| Sandalwood powder | 1 part |
| Cinnamon bark | ½ part |
Once you're comfortable with this process, move on to Loose Incense for more detailed guidance, or explore the Ingredients Guide to learn what each material brings to a blend.